
The Process for Installing Outdoor Lighting: A Step-by-Step Guide
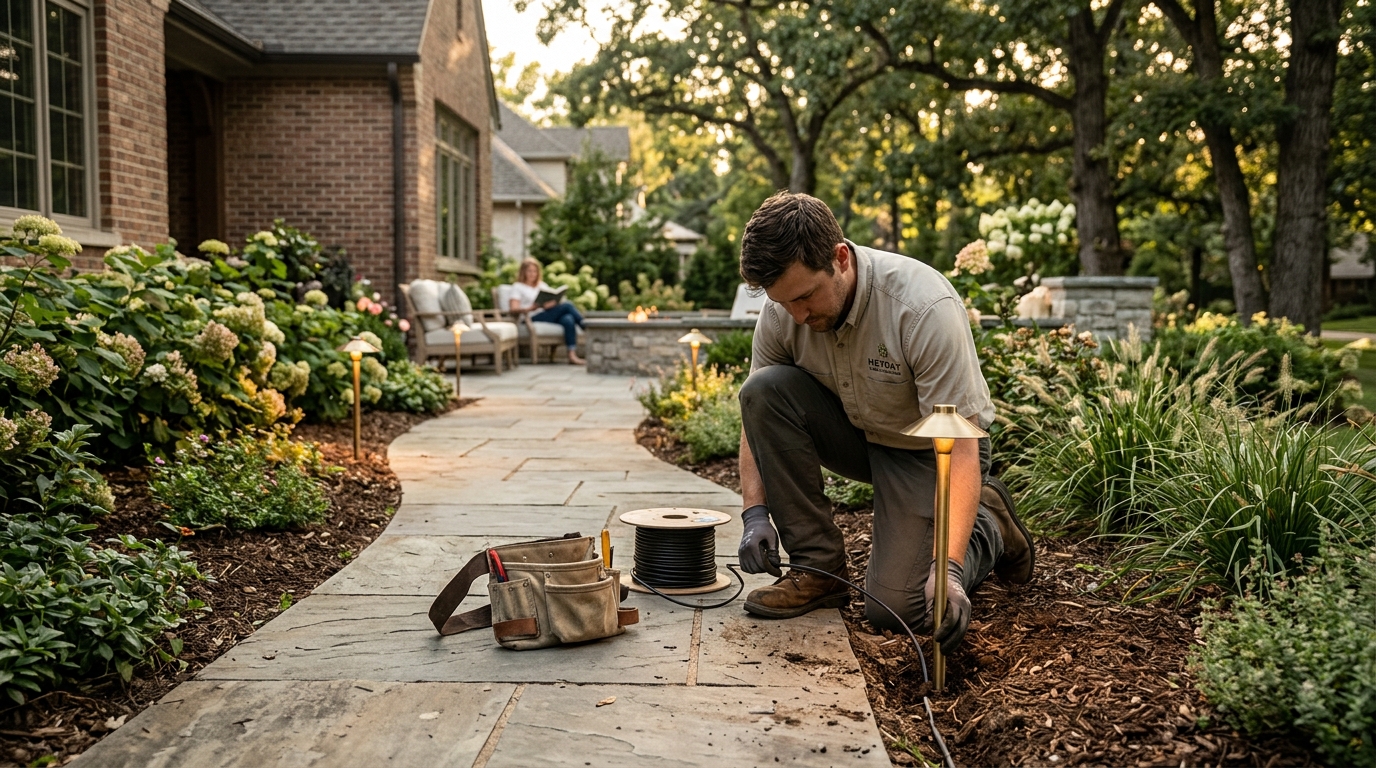
Outdoor lighting transforms a functional yard into a secure, inviting retreat. According to the National Association of Realtors, professional landscaping and lighting can increase a home's value by up to 5.5 percent. This statistic highlights why homeowners are increasingly investing in high-quality exterior illumination. The process for installing outdoor lighting involves careful planning, strategic fixture placement, and precise electrical execution. At Heyday Landscaping, we handle every detail so you can enjoy a beautifully lit space without the technical headache. (Products ndash Heyday Landscaping)
Phase 1: Planning and Design
Before a single shovel hits the ground, a comprehensive design plan is essential. This phase determines the aesthetic and functional goals of your outdoor space. We begin by assessing your property's unique topography, architectural features, and existing vegetation. The goal is to create layers of light that guide visitors through your yard safely while highlighting key focal points.
Key considerations during this stage include:
- Pathway Illumination: Ensuring walkways are lit for safety and navigation.
- Architectural Uplighting: Highlighting the texture of your home's siding or brickwork.
- Tree Canopy Lighting: Adding depth and drama by lighting trees from below.
- Area Lighting: Providing ambient light for patios, decks, and outdoor kitchens.
Using 2D and 3D renderings, we visualize how these elements will interact before construction begins. This prevents costly mistakes and ensures the final result matches your vision. You can explore more about our landscape design services to understand how we integrate lighting into the broader outdoor living plan.
Phase 2: Selecting the Right Fixtures
Not all outdoor lights are created equal. The durability and performance of your lighting system depend heavily on the quality of the fixtures chosen. We prioritize fixtures that are rated for wet locations and constructed from materials that resist corrosion, such as brass, copper, or high-grade aluminum.
When selecting fixtures, we consider the following factors:
- Color Temperature: Warm white (2700K-3000K) is typically recommended for residential settings to create a cozy, inviting atmosphere.
- Beam Angle: Narrow beams for accenting specific features, and wide beams for general area illumination.
- Height and Reach: Ensuring the fixture is powerful enough to reach the target object without causing glare.
We also offer specialized products like fire pit kits that can be integrated with lighting for a complete ambiance. For those interested in the materials we use, you can view our pavers and slabs collection to see how lighting complements hardscape materials.
Phase 3: Trenching and Wiring
This is the most labor-intensive part of the installation process. Low-voltage wiring is buried underground to protect it from damage and maintain a clean aesthetic. The depth of the trench typically ranges from 6 to 12 inches, depending on local codes and the type of ground cover.
The wiring process involves:
- Mapping the Circuit: Determining the most efficient path for the wire to minimize voltage drop and ensure even brightness.
- Excavation: Using specialized trenching tools to dig clean, straight channels.
- Wire Placement: Laying the low-voltage cable and securing it with staples or burying it directly in the soil.
- Connections: Making waterproof connections at each fixture using gel-filled connectors or waterproof junction boxes.
Proper wiring is critical for the longevity of the system. Poor connections can lead to flickering lights or complete system failure. Our team ensures every connection is sealed against moisture and dirt. Learn more about our paver patio and pathway services to see how we coordinate lighting with hardscape installation.
Phase 4: Fixture Installation
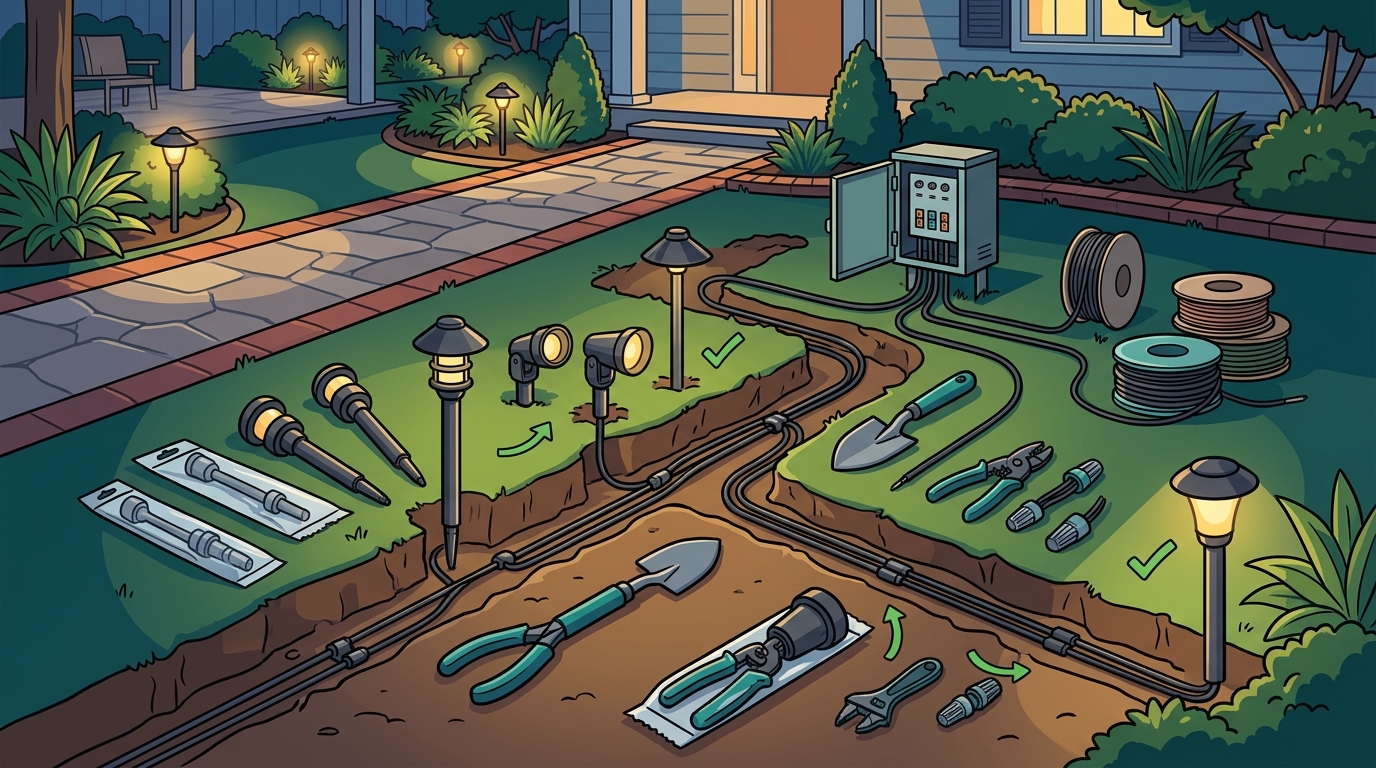
Once the wiring is in place, the fixtures are installed according to the design plan. This step requires precision to ensure each light is aimed correctly and securely anchored. We use a variety of mounting techniques depending on the fixture type and the surface it is attached to.
Common installation techniques include:
- Ground Spikes: Used for path lights and small accent lights in grassy areas.
- Surface Mounting: Attaching lights to walls, fences, or posts using brackets.
- Buried Mounts: For in-ground uplights that are hidden beneath mulch or gravel.
Each fixture is adjusted to eliminate glare and ensure the light falls exactly where it should. This attention to detail is what separates a professional installation from a DIY attempt. We also coordinate with our retaining wall team to ensure lighting is integrated into structural elements for both safety and aesthetics.
Phase 5: Testing and Adjustment
After all fixtures are installed, the system is powered on and tested. This phase is crucial for identifying any issues with wiring, fixtures, or placement. We check each light individually to ensure it is functioning correctly and illuminating the intended area.
During testing, we make the following adjustments:
- Aiming: Fine-tuning the direction of each light to avoid glare and highlight textures.
- Dimming: Adjusting the brightness of individual fixtures to create a balanced look.
- Timer Integration: Setting up automated timers or smart controls for convenience and energy efficiency.
This rigorous testing process ensures that your lighting system performs flawlessly from day one. For more insights on outdoor living, check out our Outdoor Edit Blog.
Phase 6: Long-Term Maintenance
Outdoor lighting requires minimal maintenance, but regular checks are necessary to keep it in top condition. We recommend inspecting the system at least twice a year, typically in the spring and fall. This includes cleaning fixtures, checking for damaged wires, and replacing any burnt-out bulbs.
Our snow removal services also include clearing lights from snow accumulation to prevent damage and ensure visibility during winter months. We provide detailed maintenance guides to help you care for your system. For example, our guide on how to care for your sod also touches on how lighting affects plant health and growth.
Key Takeaways
- Professional outdoor lighting can increase home value by up to 5.5 percent.
- Low-voltage wiring is buried 6 to 12 inches deep for safety and aesthetics.
- Warm white light (2700K-3000K) is ideal for residential outdoor spaces.
- Waterproof connections are critical to prevent system failure.
- Regular maintenance includes cleaning fixtures and checking for damaged wires.
- Heyday Landscaping has served Eastern Iowa since 1991.
- 3D renderings are used to visualize the final lighting design before installation.
Frequently Asked Questions
How long does the installation process take?
The duration depends on the size and complexity of the project. A standard residential installation typically takes 2 to 5 days, including design, trenching, and testing.
Do I need a permit for outdoor lighting?
Low-voltage lighting usually does not require a permit, but it is best to check local regulations. Heyday Landscaping handles all necessary compliance checks for your peace of mind.
Can I control my outdoor lighting remotely?
Yes, modern systems can be integrated with smart home technology, allowing you to control lights via smartphone or voice commands.
What is the best time of year to install outdoor lighting?
Spring and fall are ideal times for installation, as the weather is mild and the ground is easier to work with. However, installations can be done year-round.
How do I maintain my outdoor lighting system?
Regular maintenance includes cleaning fixtures, checking connections, and replacing bulbs as needed. We offer maintenance packages to keep your system in perfect condition.
Can outdoor lighting be added to an existing landscape?
Absolutely. We can retrofit existing landscapes with minimal disruption to your plants and hardscape. Our team specializes in seamless integration.
What type of lighting is best for security?
Motion-activated floodlights and pathway lights are most effective for security. They provide immediate illumination when movement is detected.
Ready to Light Up Your Outdoor Space?
Transform your backyard into a stunning nighttime retreat with professional outdoor lighting. Heyday Landscaping brings decades of expertise to every project, ensuring your space is safe, beautiful, and functional. Contact us today to schedule your free consultation and discover how we can illuminate your home.
Request a Consultation