
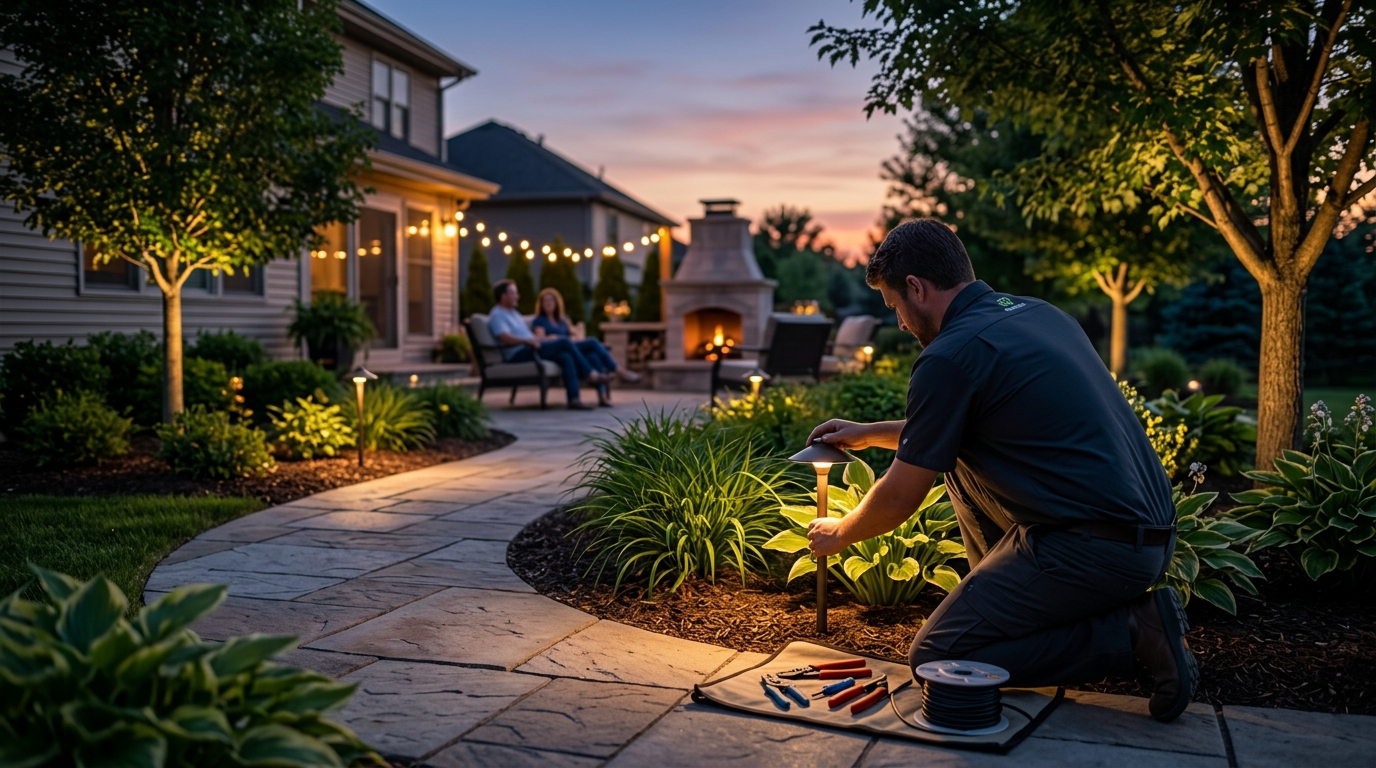
The Process for Installing Outdoor Lighting: A Step-by-Step Guide
Outdoor lighting transforms a standard yard into a secure, functional, and visually stunning retreat. According to the National Association of Realtors, professional landscaping and lighting can increase a home's value by up to 5.5 percent, making it a high-return investment for homeowners in Eastern Iowa. The process for installing outdoor lighting involves careful planning, precise trenching, and strategic fixture placement to ensure safety and aesthetic appeal. At Heyday Landscaping, we handle the heavy lifting, logistics, and messy work so you can enjoy a beautifully lit space without lifting a finger. (Products ndash Heyday Landscaping)
Phase 1: Planning and Design
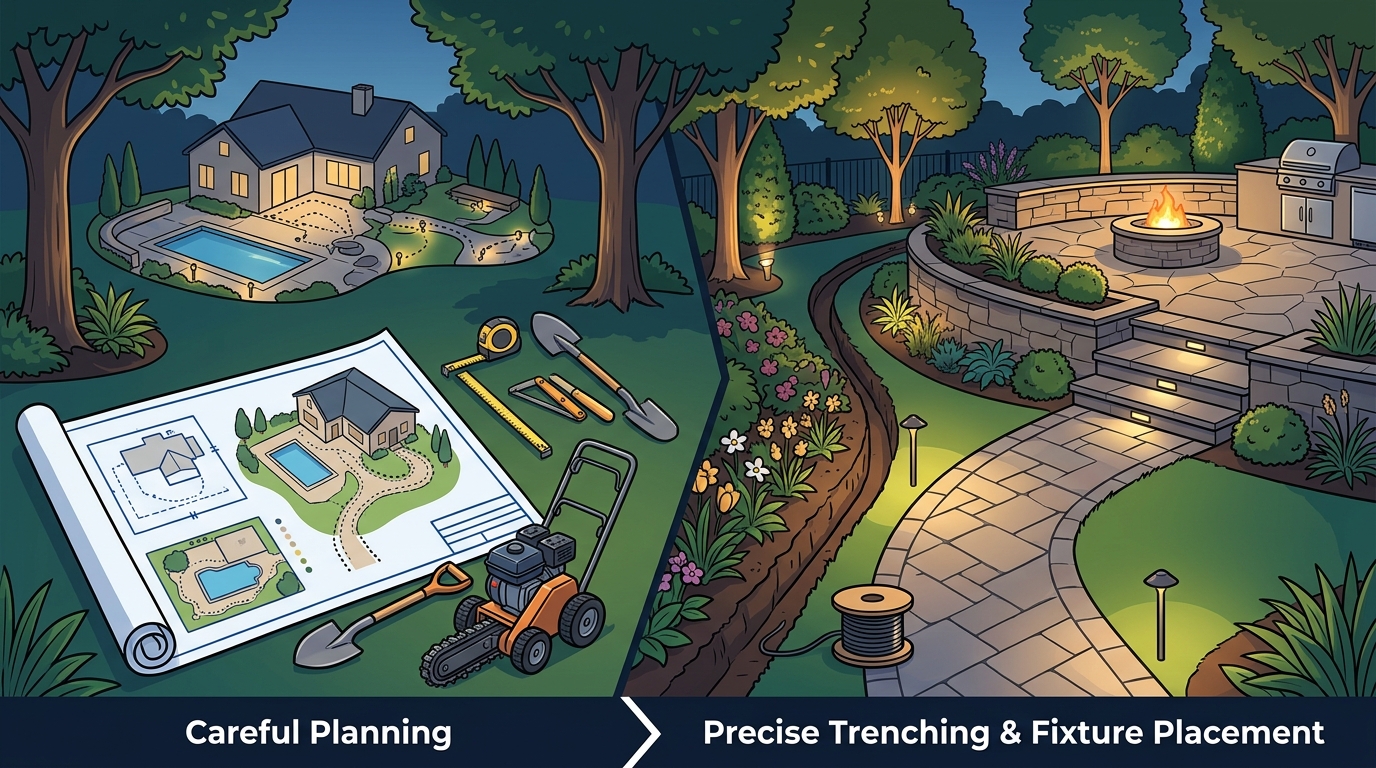
Every great lighting project starts with a clear vision. Before any ground is broken, we assess your property to identify key areas that need illumination. This includes walkways, driveways, architectural features, and landscape focal points. We use 2D and 3D renderings to help you visualize how the light will fall on your home and yard. This step is critical for avoiding common pitfalls like glare, dark spots, or over-lighting. (Pavers amp Slabs ndash)
During this phase, we also determine the type of fixtures needed. Path lights are ideal for guiding foot traffic along walkways. Uplights can highlight trees or architectural details. Downlights provide ambient light from trees or eaves. The choice of fixtures depends on your specific goals, whether it is security, ambiance, or functionality. (Fire Pit Kits ndash)
Phase 2: Trenching and Wiring
Once the design is approved, the physical installation begins. This phase involves trenching the landscape to bury the low-voltage wire. We use specialized equipment to create narrow trenches that minimize damage to your lawn and hardscaping. The wire is laid along the planned routes, ensuring it is deep enough to be protected from future landscaping activities or frost.
Proper wire gauge selection is crucial for maintaining consistent voltage across long distances. If the wire is too thin, the lights at the end of the run may appear dim. We calculate the total wattage and distance to select the appropriate wire gauge, ensuring every fixture receives adequate power. This technical detail is often overlooked by DIYers but is essential for a professional result.
Phase 3: Fixture Placement and Mounting
With the wire in place, we move on to installing the fixtures. Each light is carefully positioned to achieve the desired effect. For example, path lights are spaced evenly to create a rhythmic guide along walkways. Uplights are angled precisely to wash light up the trunk of a tree or the side of a house.
We also consider the height and direction of each fixture. Low-voltage lighting is safer and easier to install than line-voltage systems, but it requires careful attention to voltage drop. By placing the transformer closer to the power source and the center of the load, we minimize voltage drop and ensure optimal performance. This phase also includes securing the fixtures to prevent movement from wind or animals.
Phase 4: Transformer Installation
The transformer is the heart of your outdoor lighting system. It converts standard 120-volt household current to 12-volt low-voltage current, which is safer for outdoor use. We install the transformer in a dry, accessible location, typically near an outdoor electrical outlet. It is mounted on a wall or placed on a stable surface, ensuring it is protected from direct rain and snow.
We also install a timer or photocell sensor on the transformer. This allows the lights to turn on automatically at dusk and off at dawn, saving energy and providing convenience. Some systems also include smart controls that allow you to adjust the lighting schedule and intensity from your smartphone.
Phase 5: Testing and Adjustment
After all fixtures are installed and connected, we conduct a thorough testing phase. Every light is turned on to ensure it is functioning correctly. We check for any flickering, dimness, or dead spots. If a light is not working, we trace the wire to identify and fix any breaks or loose connections.
We also adjust the angle and position of each fixture to perfect the lighting effect. This might involve moving a path light slightly to avoid glare or adjusting an uplight to better highlight a tree branch. This attention to detail ensures that the final result is both beautiful and functional.
Phase 6: Maintenance and Care
Outdoor lighting requires minimal maintenance, but regular care ensures long-term performance. We recommend inspecting the system annually to check for damaged fixtures, loose connections, or overgrown vegetation blocking the light. Cleaning the lenses of the fixtures can also improve brightness and appearance.
At Heyday Landscaping, we offer ongoing maintenance services to keep your lighting system in top condition. Our team can handle everything from bulb replacements to system upgrades, ensuring your outdoor space remains illuminated and inviting year-round.
Comparing Lighting Options
Choosing the right lighting system involves understanding the differences between various options. Below is a comparison of common outdoor lighting types to help you decide what is best for your property.
| Lighting Type | Best Use Case | Installation Complexity | Cost Range |
|---|---|---|---|
| Path Lights | Walkways and driveways | Low | $10 - $30 per fixture |
| Uplights | Trees and architecture | Medium | $20 - $50 per fixture |
| Downlights | Ambient lighting from trees | Medium | $25 - $60 per fixture |
| Spotlights | Highlighting specific features | High | $30 - $70 per fixture |
Key Takeaways
- Professional outdoor lighting can increase home value by up to 5.5 percent.
- Low-voltage systems are safer and easier to install than line-voltage systems.
- Proper wire gauge selection prevents voltage drop and ensures consistent brightness.
- Automated controls like timers and photocells save energy and add convenience.
- Regular maintenance includes inspecting for damage and cleaning lenses.
- Heyday Landscaping has served Cedar Rapids and Iowa City since 1991.
- 2D and 3D renderings help homeowners visualize the final result before installation.
Frequently Asked Questions
How long does it take to install outdoor lighting?
The installation time depends on the size of the property and the number of fixtures. A typical residential project can take one to three days to complete.
Is low-voltage lighting safe for DIY installation?
While low-voltage lighting is safer than line-voltage, professional installation ensures proper wire gauge selection, secure connections, and optimal fixture placement.
Can I control my outdoor lights with my phone?
Yes, many modern outdoor lighting systems offer smart controls that allow you to adjust schedules and intensity from your smartphone.
How do I maintain my outdoor lighting system?
Regular maintenance includes inspecting for damage, cleaning lenses, and checking connections. Heyday Landscaping offers annual maintenance plans to keep your system in top condition.
What is the best type of light for highlighting trees?
Uplights are the best choice for highlighting trees. They are placed at the base of the tree and aimed upward to create a dramatic effect.
Do I need a permit to install outdoor lighting?
In most cases, low-voltage lighting does not require a permit. However, it is always best to check local regulations in Cedar Rapids or Iowa City.
How do I prevent glare from path lights?
Proper spacing and angle adjustment can prevent glare. We ensure that path lights are aimed downward and spaced evenly to create a soft, inviting glow.
Ready to Illuminate Your Home?
Transform your outdoor space with professional lighting design and installation. Contact Heyday Landscaping today to schedule your free consultation and discover how we can bring your backyard vision to life.